

Intro
If you are anything like me, you would want to automate your work as much as possible. The average worker spends on average 11 hours a week when dealing with emails, imagine how much of this time is dedicated to write repetitive subject lines. In addition to that you need to label your communication if not as part of your formal compliance practices, but inner code of conduct. So I took a mission to create a simple way to create an email with subject lines labels. Because I use MS Outlook the task was to start with the VBA.
As a prerequisite you need to be familiar a little with how to work with VBA IDE.
Note: I did mentioned in my other posts that I am not good at programming and coding, it is something to do with my lack of patience. So most of the things I have simply googled and applied as the mix box of ready solutions. Please do not come at me for my bad programming technique.
Drawing the form and objects
Fire up your outlook and press ALT + F11 to open Visual Basic for Applications IDE (integrated development environment). In case you have never programmed anything in the MS Office, the UI may look confusing, but once you will get used to it, its fun.
First, we need to create UserForm. In the menu, go to the Insert and pick UserForm.

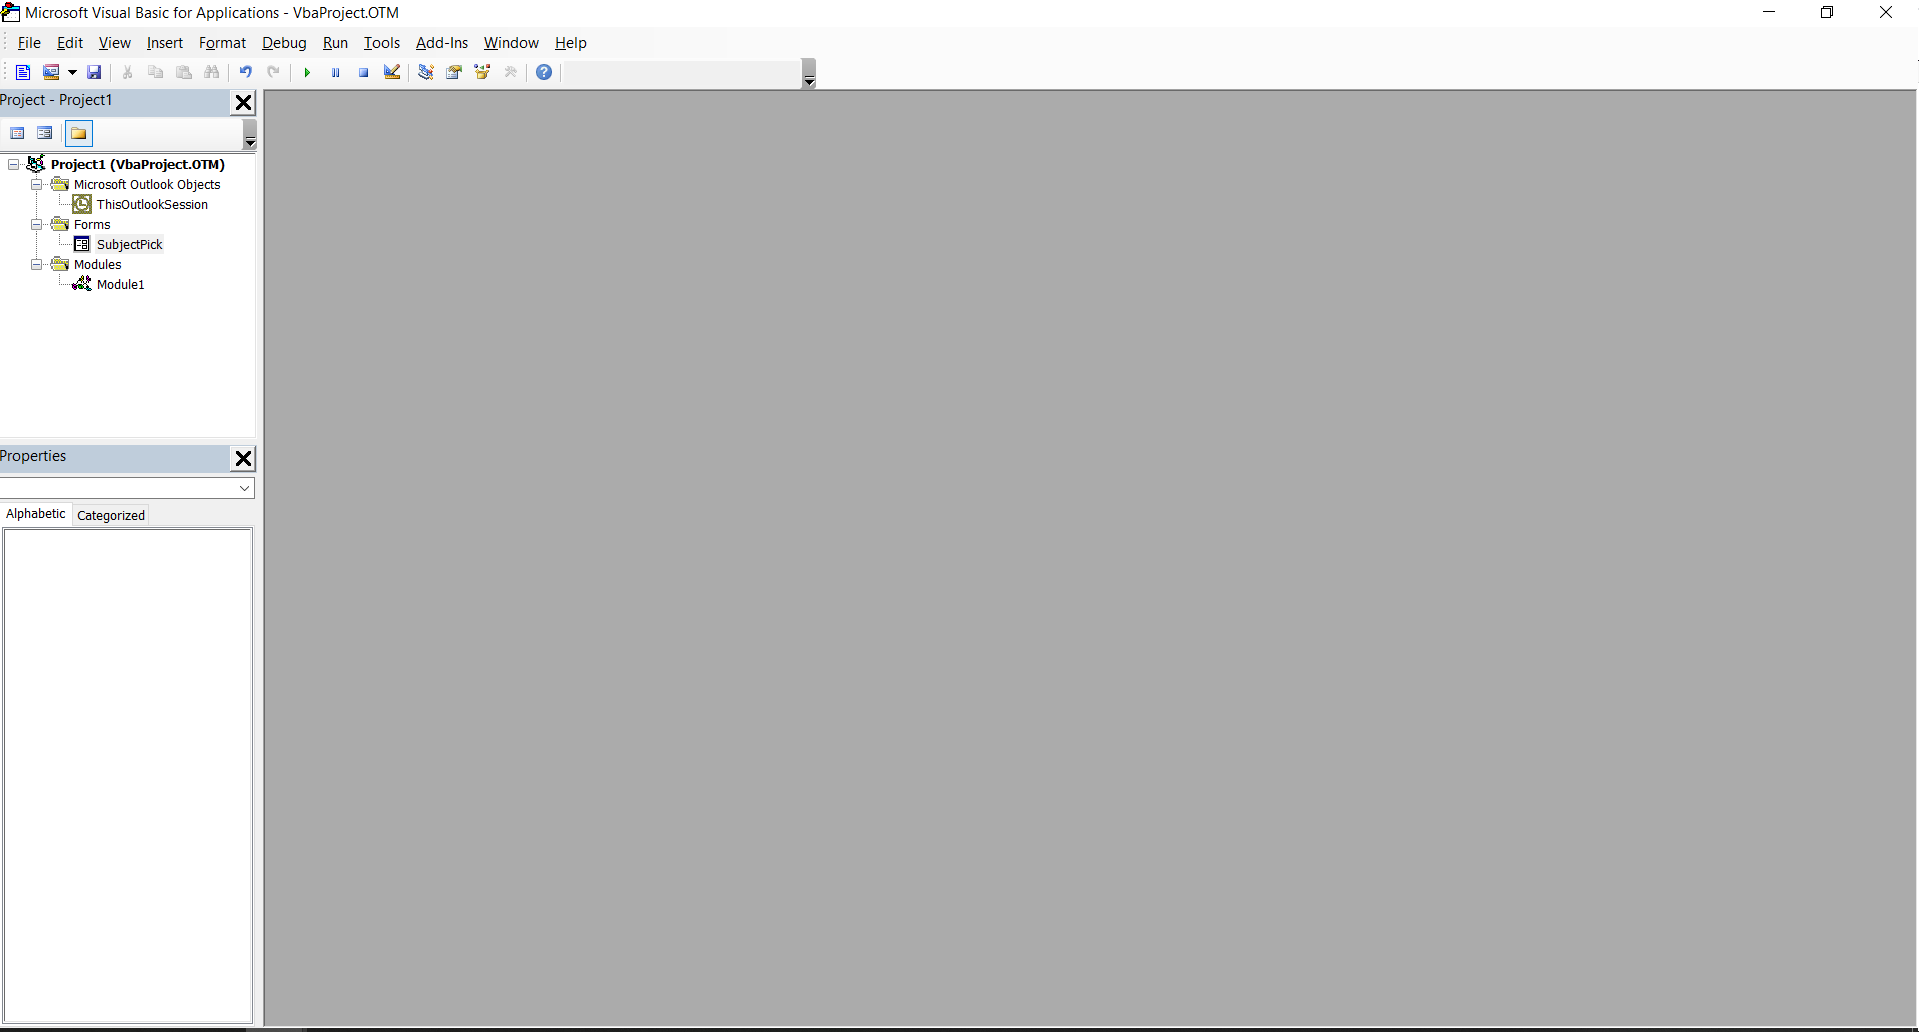
You will have a new window appeared with the form with the UserForm1 name that you can reshape to your liking. This userform will host a combo box to select subject lines, so there is no point making it very large. On the left side of the IDE you will have this user form appear under the Forms folder in the Project - Project1 window as well as the Properties window that allows you set specific settings for the objects that you program.
Note: YOur userform will appear empty and not looking like the screenshot. The objects in the userform on the screenshot will be added later.
Select user form that you have just created, shape it as you would like it to see and assign the following properties:
| Name | SubjectPick | This will give your user form a meaningful name |
| Caption | Pick a subject | This will set a name on the top of the window that will be seen when user form is run in the outlook |

Now that the properties are set we need to add couple of objects on our form: ComboBox and CommandButton. The first will be a dropdown list of labels that will be added to the subject and the second will be the “OK” button. To add this objects you may need to turn on Toolbox. Find its icon (crossed hammer and wrench) under the menu and click on it, so the floating window would appear.

In the Toolbox window find the icon for the ComboBox and click on it. Your cursor should turn from Arrow to Cross. Now in the form that we have created draw the object. Note that you can change its size and position within the userform. When finished in the Toolbox window find the icon for the CommandButton, click on it and do the same as with ComboBox.
Refer to the screenshot below:

When finished, close the floating Toolbox window and select the ComboBox that you have just created. In the properties change its name to cbSubject.
| Name | cbSubject | This will give your combobox a meaningful name |

Now select the CommandButton and in the properties change its name to the cmbOK and its Caption to the OK.
| Name | cmbOK | This will give your command button a meaningful name |
| Caption | OK | This will set a caption for the button |

With this we are finished with preparing the visual part of the exercise and are ready to proceed to the coding.
Making the visual part alive with the code
On the left side in the Project - Project1 window right click on the user form SubjectPick and select View Code. You will have a window opened, where you can start writing your code. Code window have two drop down lists on the top, on the left is the object selection and on the right the selection of the procedures that you can have for the object.

Insert the following piece to create the procedure:
Private Sub UserForm_Initialize()

'Adding the labels to the selection list
With cbSubject
        .AddItem "[Class: Confidential] - "
        .AddItem "[Class: Internal] - "
        .AddItem "[Class: Public] - "
End With

'Assign the default value for the selection. Note that index starts with 0
cbSubject.ListIndex = 1

End Sub
Note: Take a note how object and procedure fields on top of the code window change automatically.
This is the piece of code that will execute while user form window initializes and it creates a list of strings that are added to the combobox drop-down list, as well as sets the default value to appear based on the index of the each list entry. The list index starts with 0, so in our case the *[Class: Internal] - * will be displayed initially, you can change it to your default value. You can add your own labels by continuing the list with the help of .AddItem "INSERT YOUR LABEL HERE" command.
The rest of code execution will be done when command button in clicked. So in the code window insert the following piece of code couple of rows below End Sub for our User Form initialize procedure.
Private Sub cmbOK_Click()

Dim outlookApp As Outlook.Application
Dim outlookMail As Outlook.MailItem

' Early binding in order to use intellisense

Set outlookApp = New Outlook.Application
Set outlookMail = outlookApp.CreateItem(olMailItem)

'Noting the selected subject line
lstValue = cbSubject.Value

'closes the window.
Unload Me

'Create email and assign its properties.
With outlookMail
    .BodyFormat = olFormatHTML ' format of the mail set to HTML
    .Subject = lstValue 'Set the subject line according to the selection from the combobox
    .Display ' display the mail
End With

'Destroying the objects.

Set outlookMail = Nothing
Set outlookApp = Nothing

End Sub
Do not forget to press Save
The above piece of code executes when OK is pressed. What it does is simply creating the message and assigning the subject as per selection from the combobox. If you have a default signature set up in the Outlook, it will be automatically added to the email. You can check other possible properties for the MailItem object by reading the documentation.
If you would like to add another signature, I would advise to read the following post by Ron de Bruin. I personally went with the Example 2 : Insert the signature that you want without picture way of his suggestions.
With this part is over, we can finally try our code. Switch over to the UserForm window and press on the Run Sub/UserForm icon under the menu.

If everything is coded as per the steps above you should get the window with the user form that you can select the label and after pressing OK button you should get the new mail created with the label in the subject line.

Make it run from the outlook directly
Now if everything is working after test running the code and you have your new email created with the selected label in the Subject line, the time is right to make it run directly from the outlook.
The idea is simple, we shall create a macro that will call user form you have created, assign it to the button and add it to the quick access so that there is a shortcut for this button.
First return to the IDE and check if you have Module1 created in the Project - Project1 window under the Modules folder. If not, right click on the Project1 (VbaProject.OTM) and select Insert and than Module. You should see that Module1 appear under the Modules folders. Read mre about modules here

Right click on the Module1 and select View Code and in the opened code window insert the following code:
Sub NewEmail()

SubjectPick.Show

End Sub
Return to the main outlook window. Go to the Developer tab. Click on the small arrow next to the Macros icon and ensure that you have NewEmail macro there.

If it is there we are going to Customize the Quick Access Toolbar. Click on the small arrow next to the Quick Access Toolbar and select More Commands.

Select Macros from the list of the commands and again verify that you have NewEmail procedure available. Add the macro from the right pane to the left, move it to the top and press Modify.

Change Display name: to any name you would like, select icon you would like, press OK.

Your new button should appear in the Quick Access Toolbar.

Now if you would press ALT, you will get Numbers or Letters next to certain icons, as the hint for the shortcut. Notice that your new button in Quick Access Toolbar has a number, which you can use as a shortcut to fire up this macro and therefore create new email with the label in the subject.
And that is it. Hopefully this one will be helpful for your needs.

Bonus
Once making use of this macro and new button as a habit instead of simply making new email, add more subject labels. You will be able to configure Search Folders by this labels.
Mentions
Photo by Émile Perron on Unsplash
